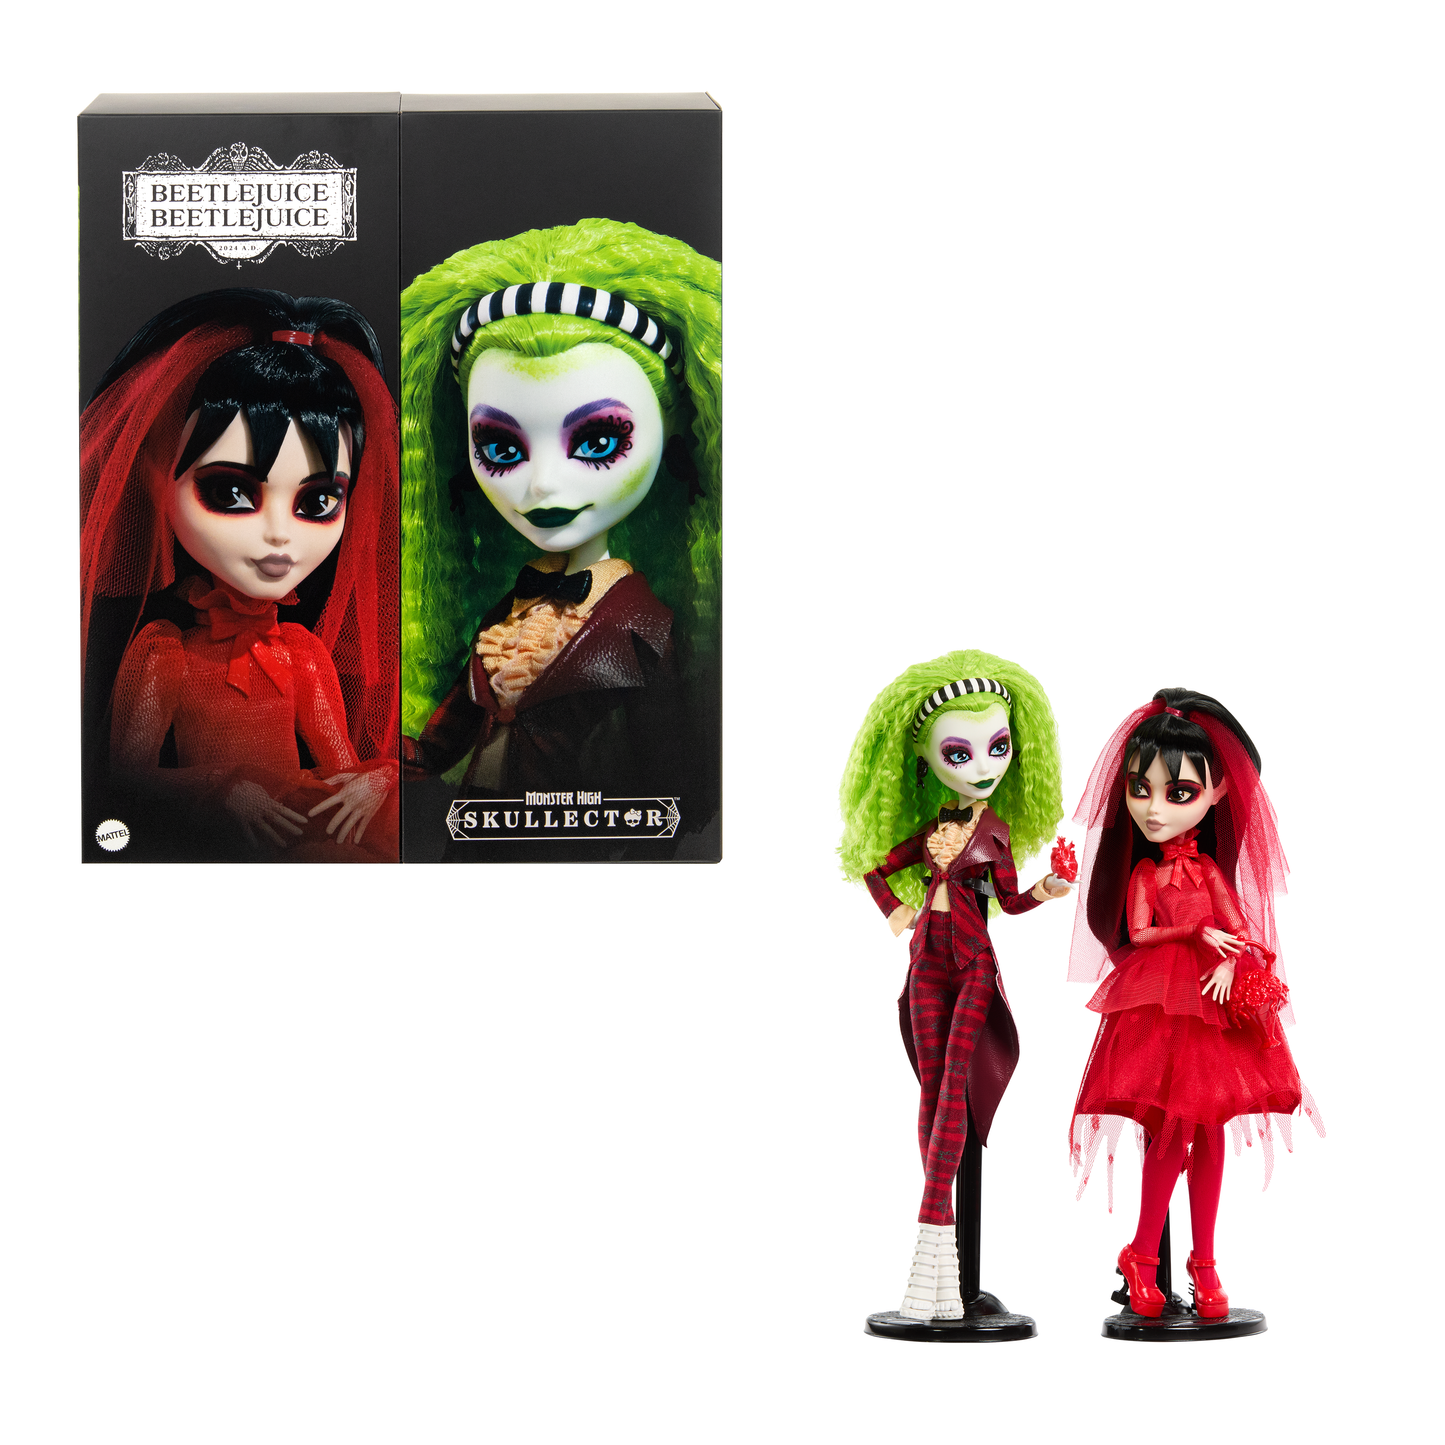


'- Beware, the Juice is loose! And he wants to get married (it's a contract thing). For better or worse, Betelgeuse and Lydia dolls are ready to walk down the aisle in this Monster High Skullector set.
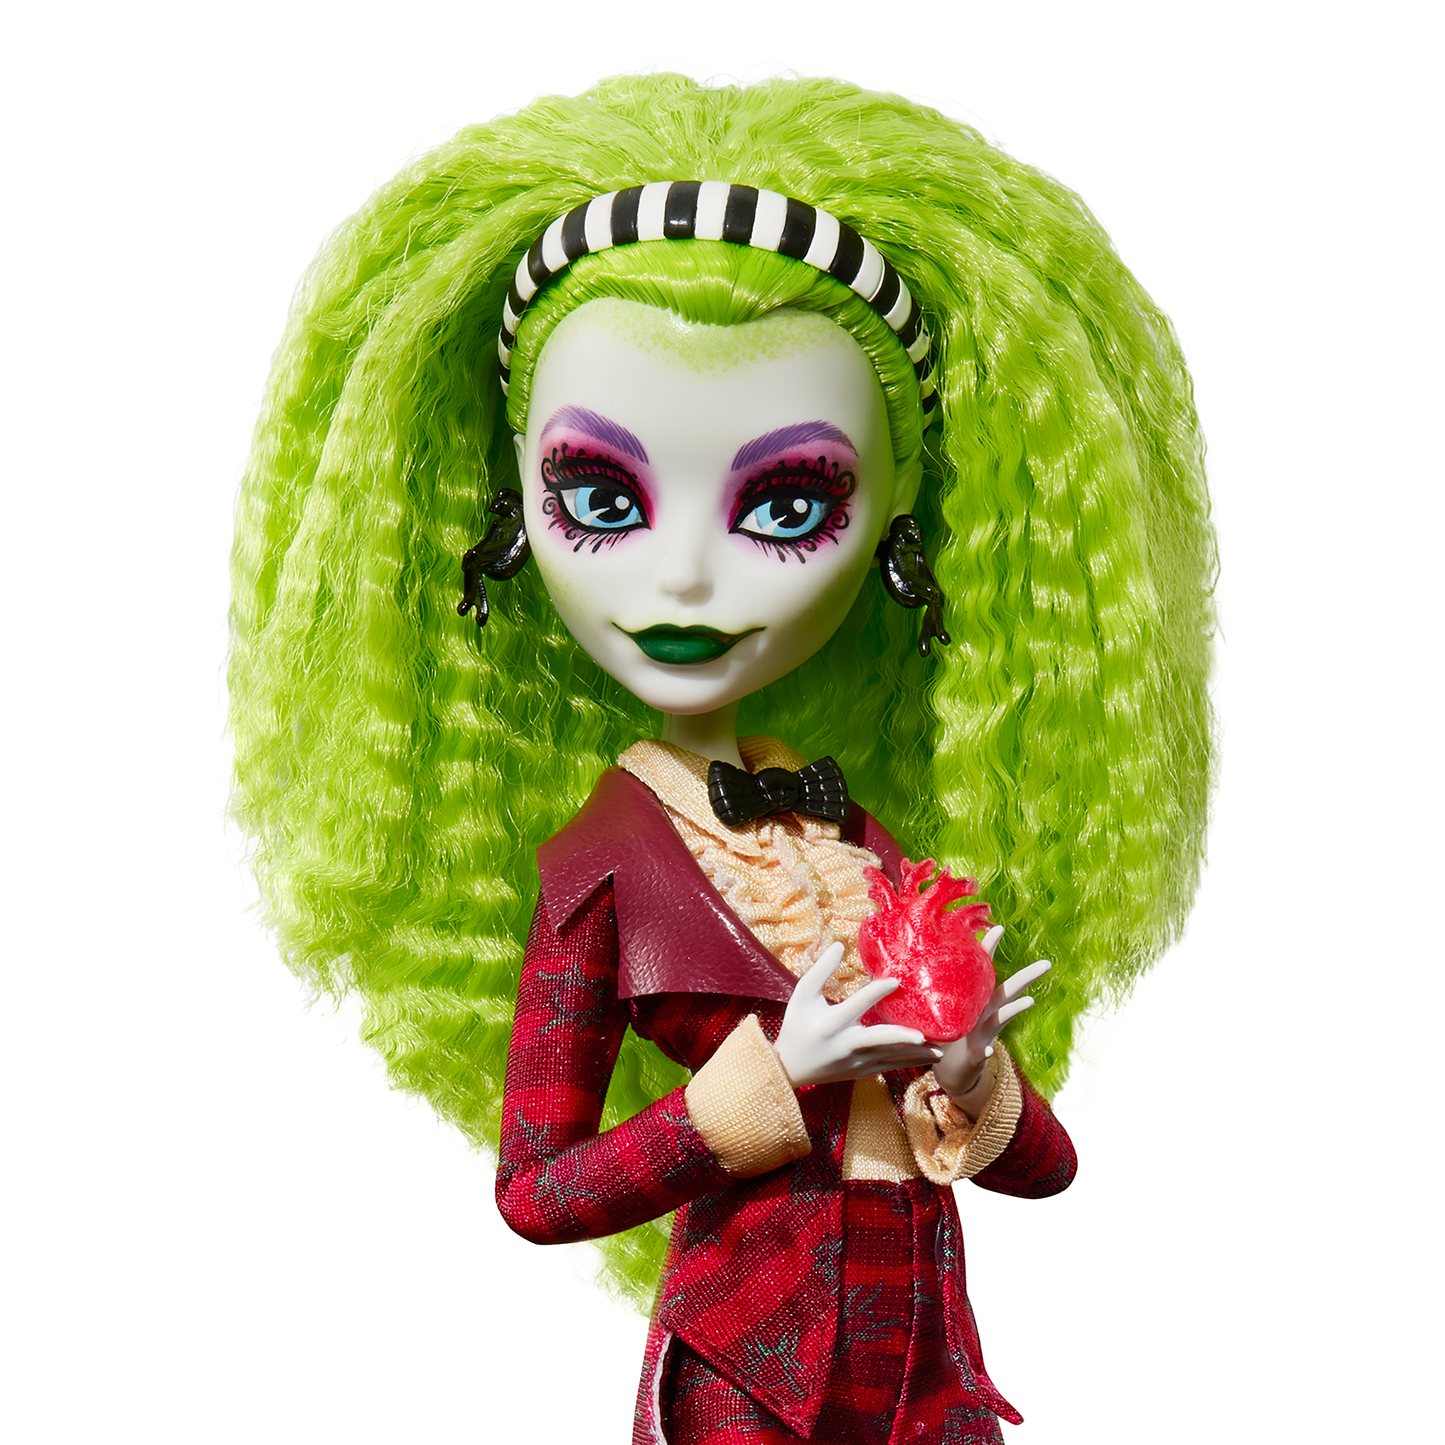
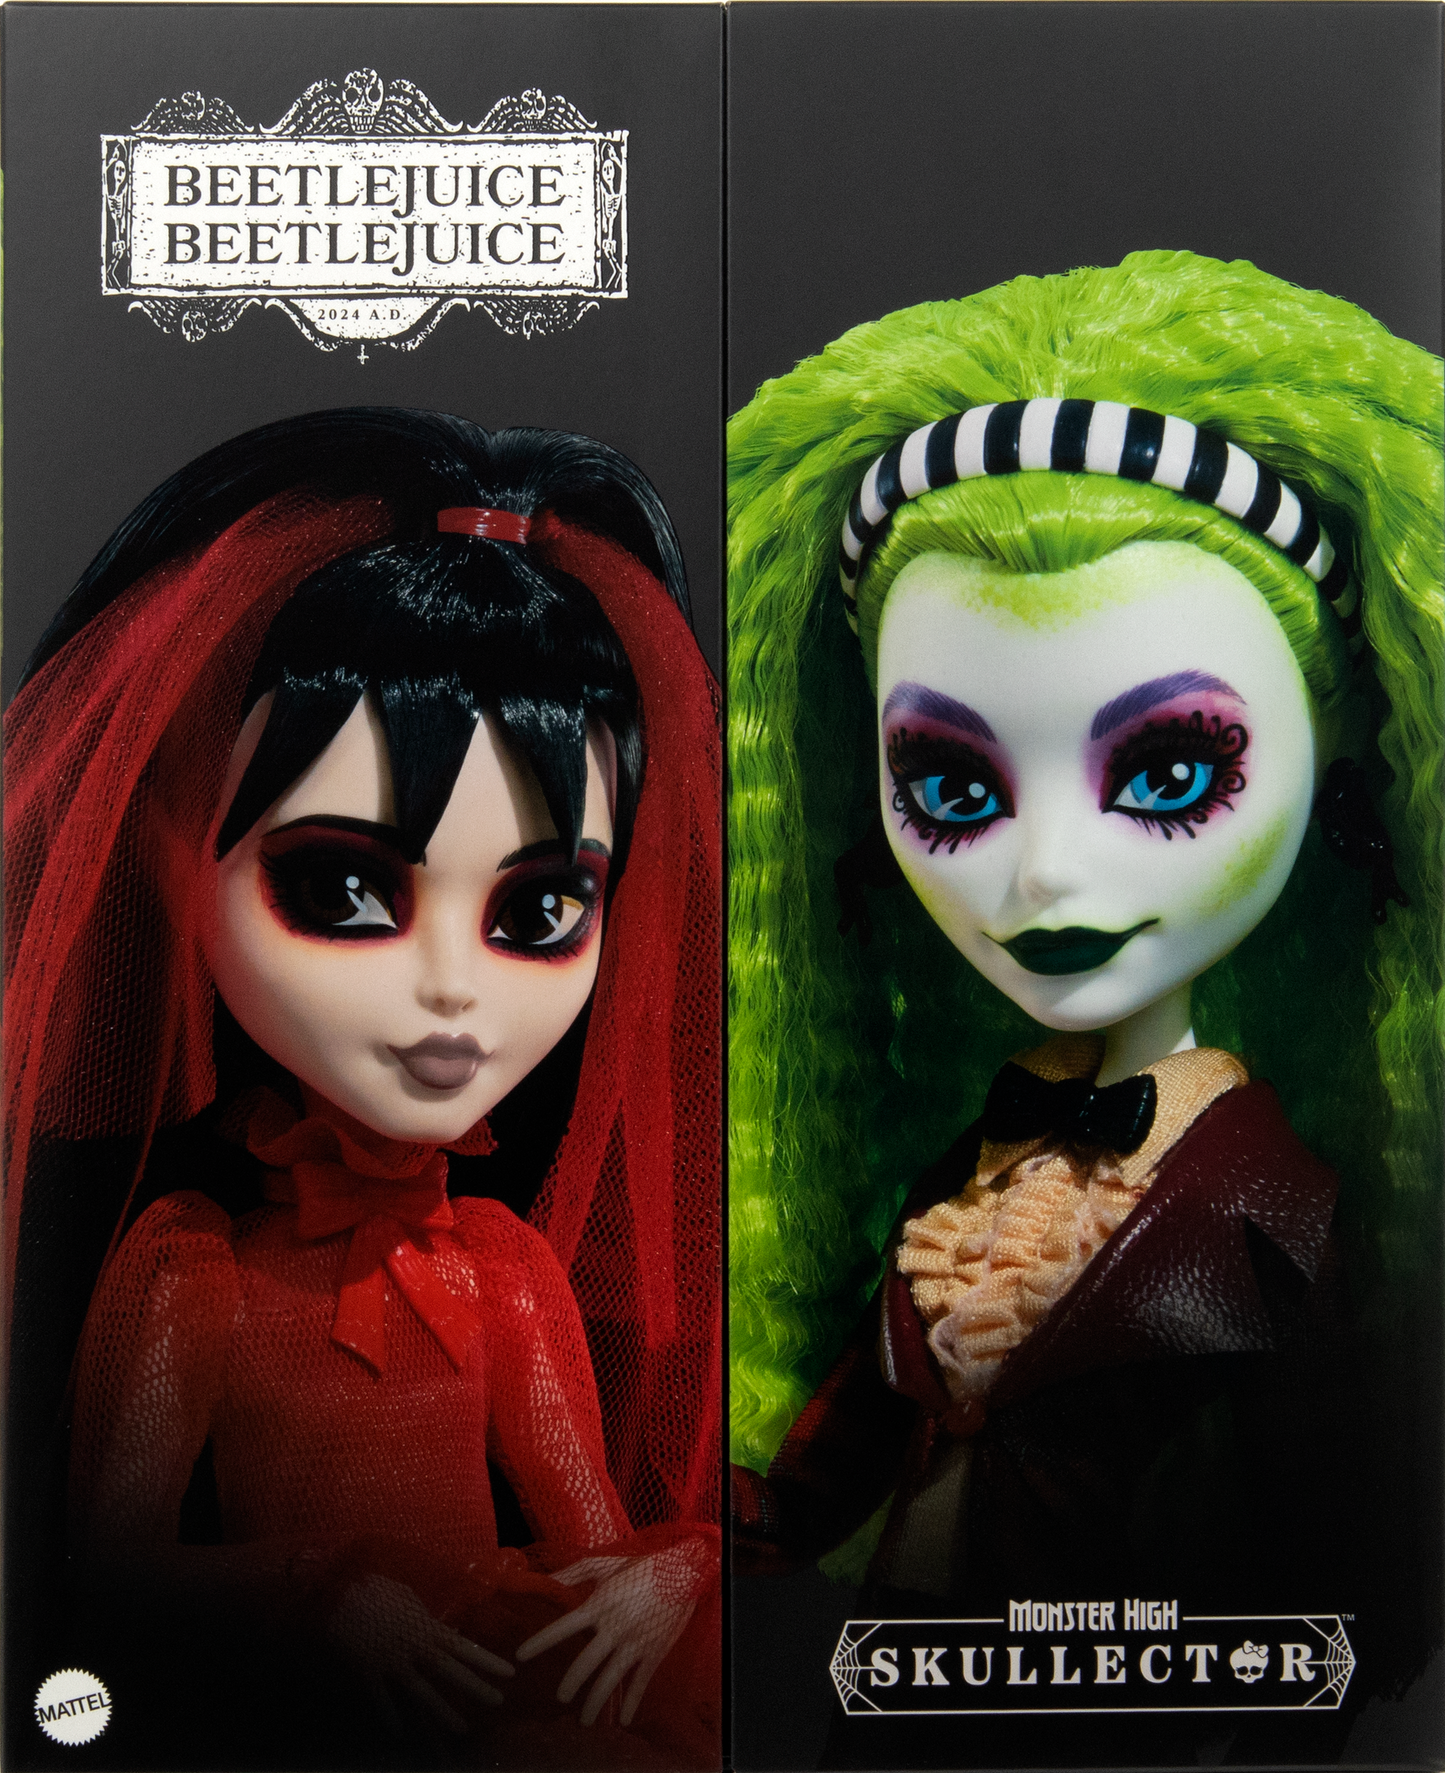
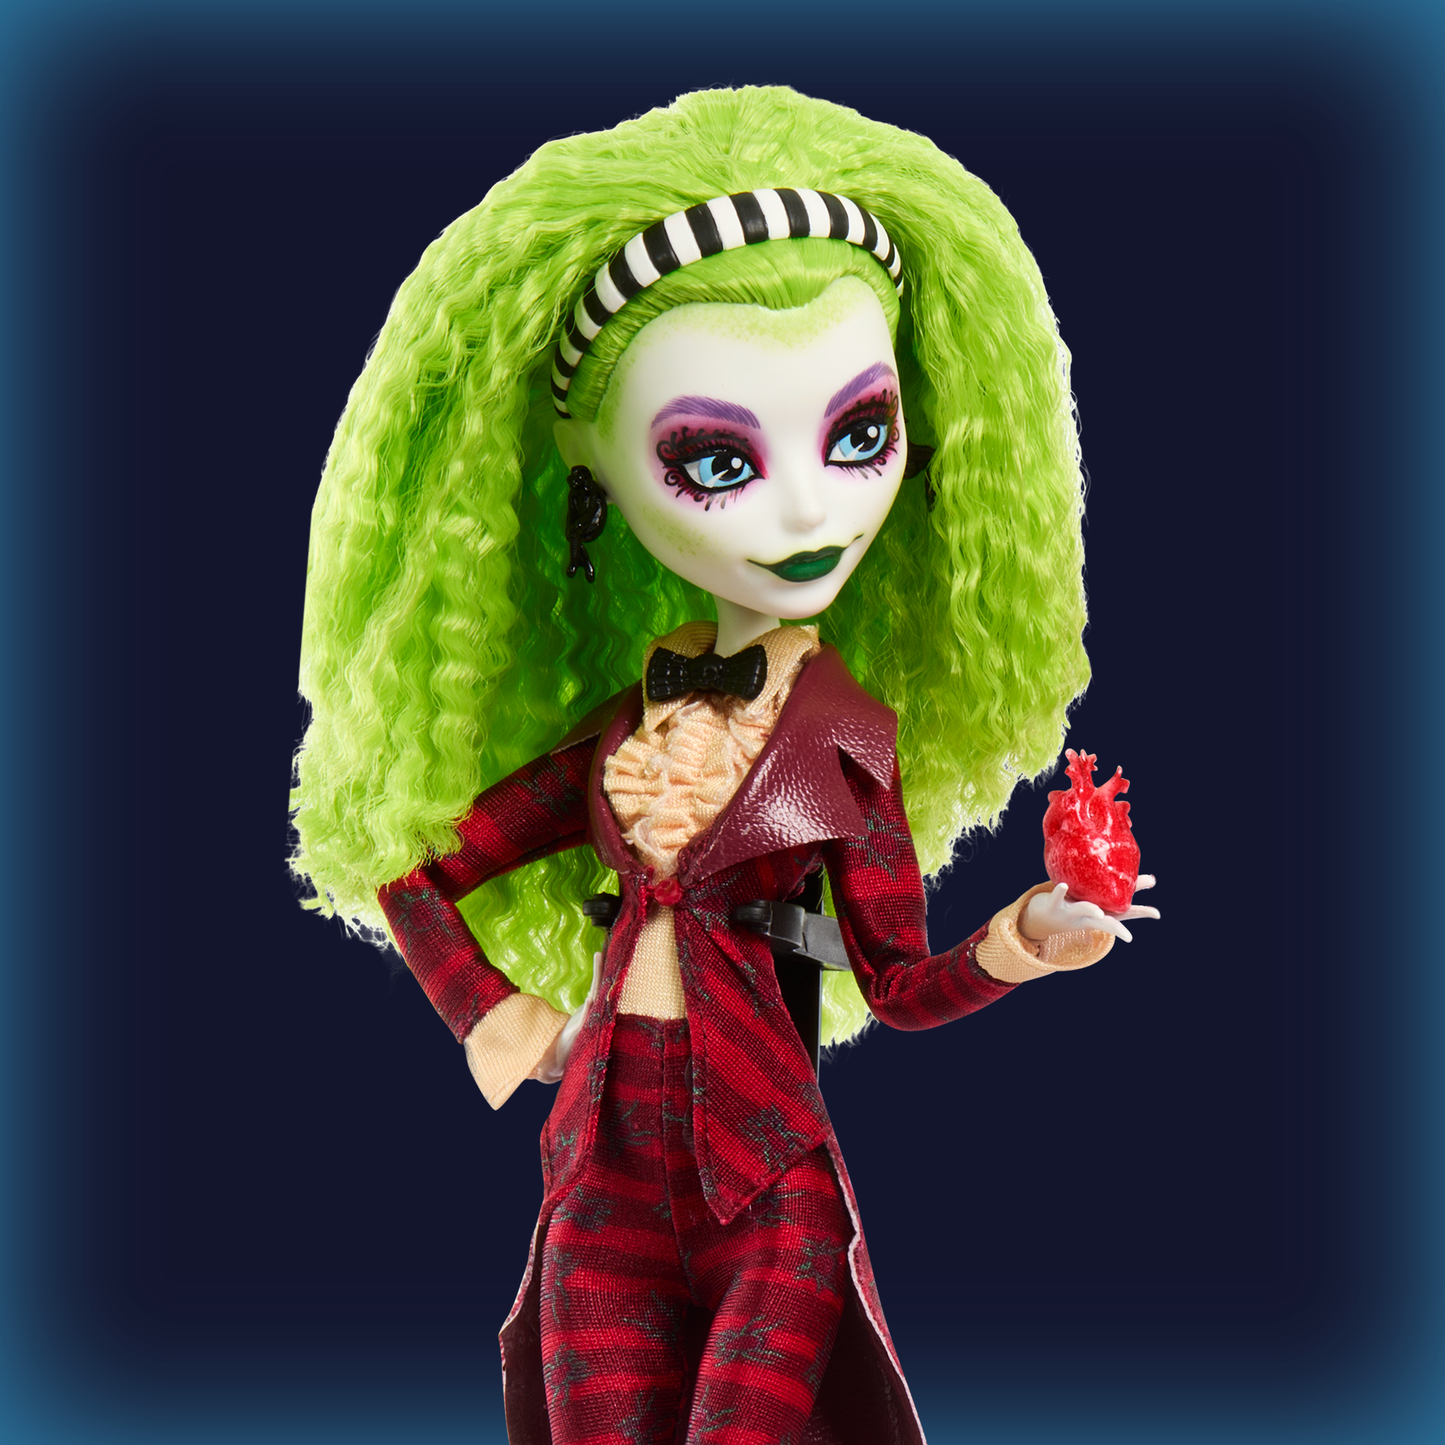
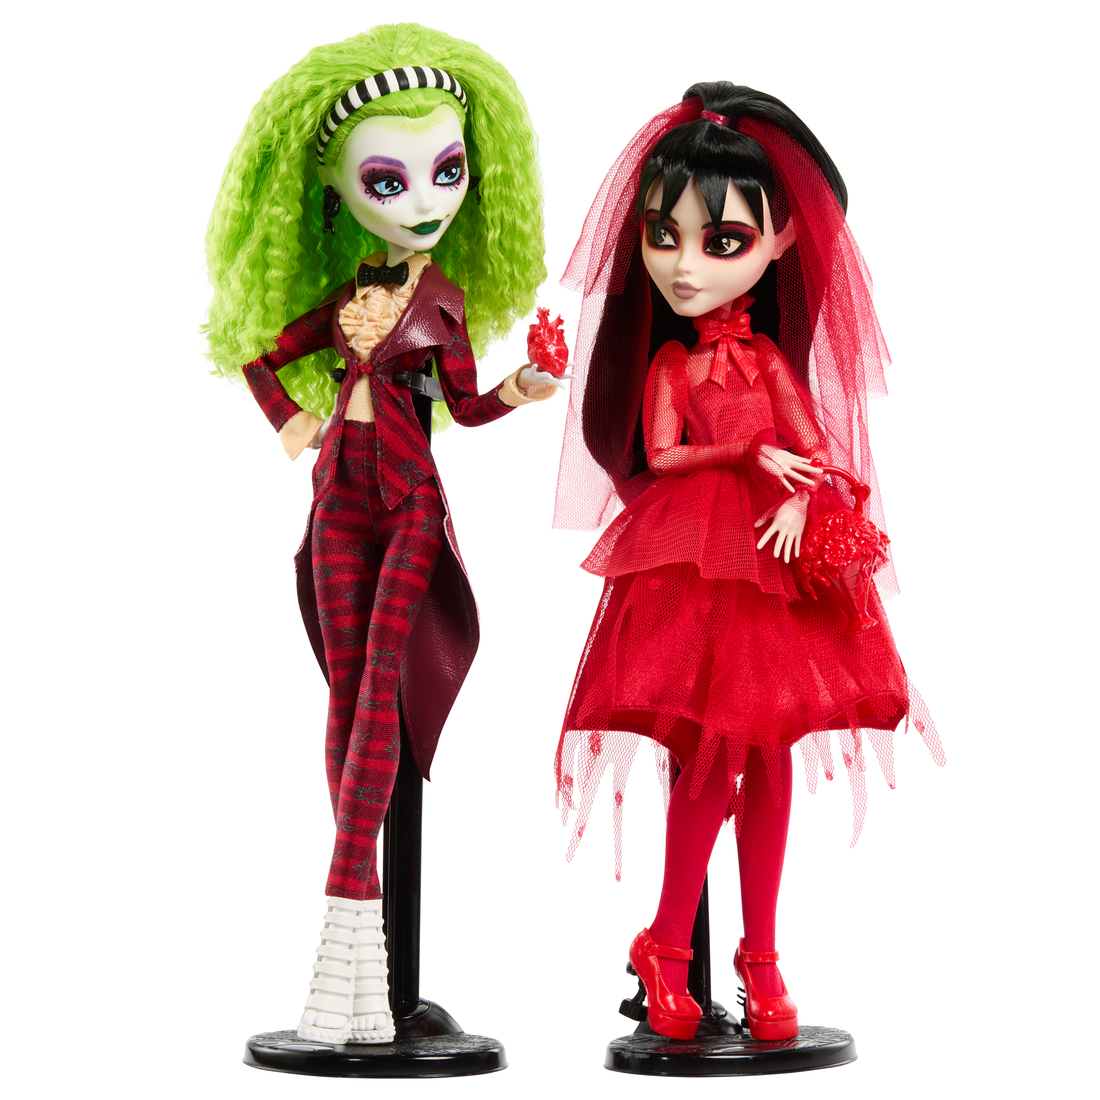
- Inspired by the film Beetlejuice Beetlejuice, this collectible brings the doomed duo to un-life in stunning detail. Betelgeuse wears a striped suit with a ruffled collar, accented by faux leather panels and shoes with tombstone and beetle heels.
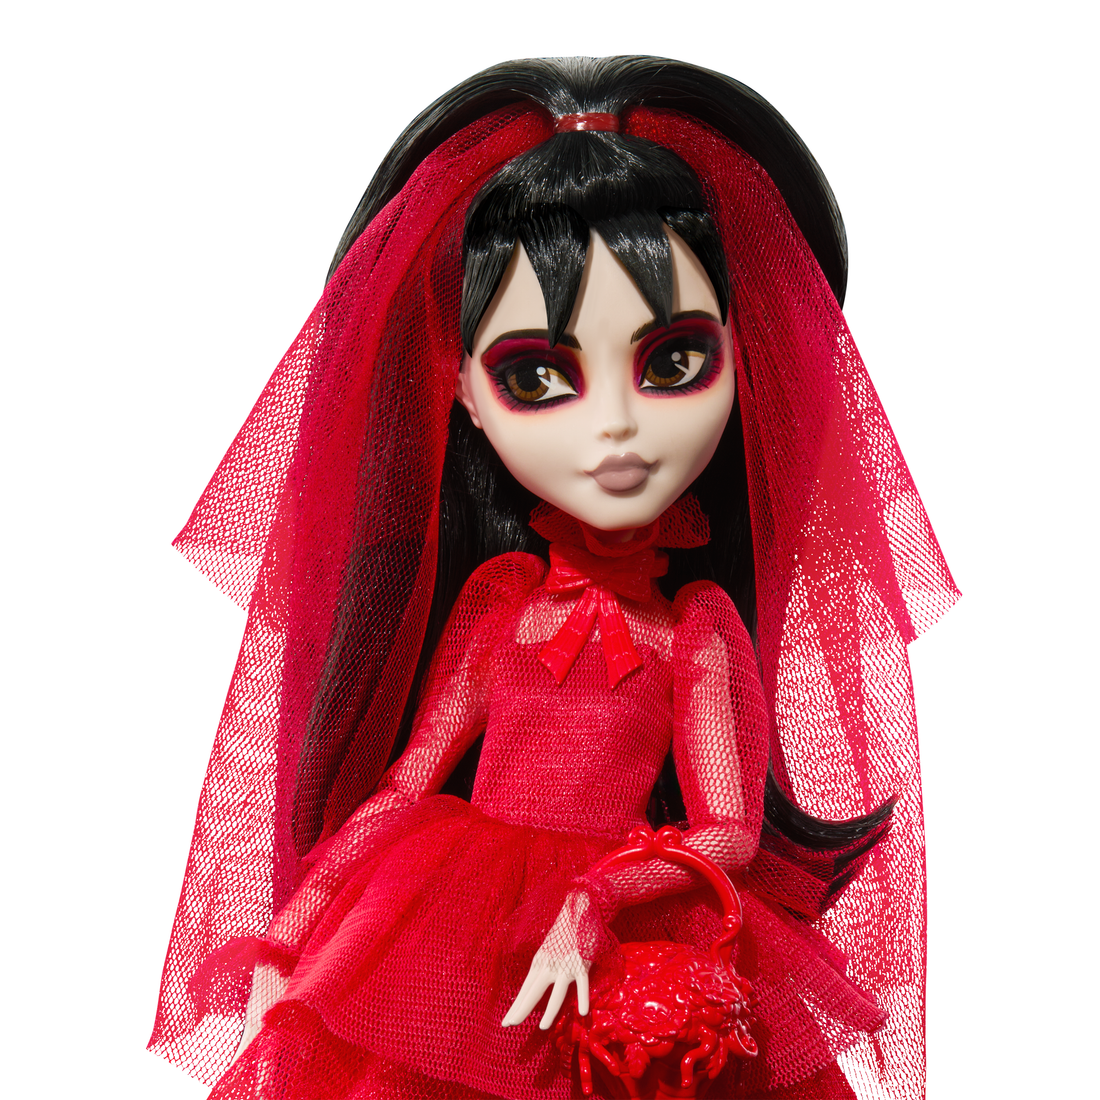
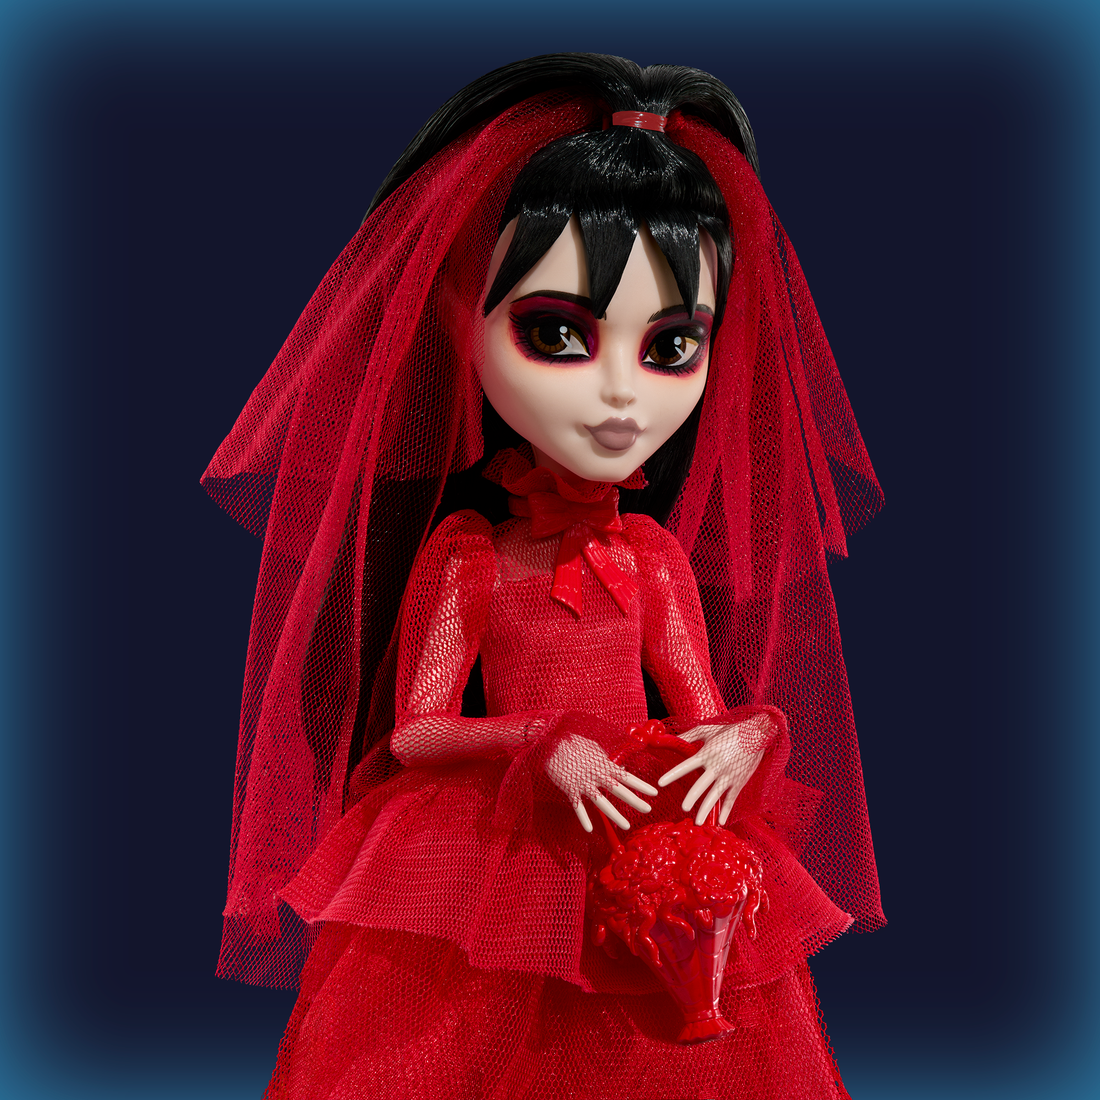
- Lydia is dressed in her frightful finest: a gore-geous red tulle gown complete with a sheer veil, bow collar, and jagged Swiss dot skirt. Who says romance is dead?
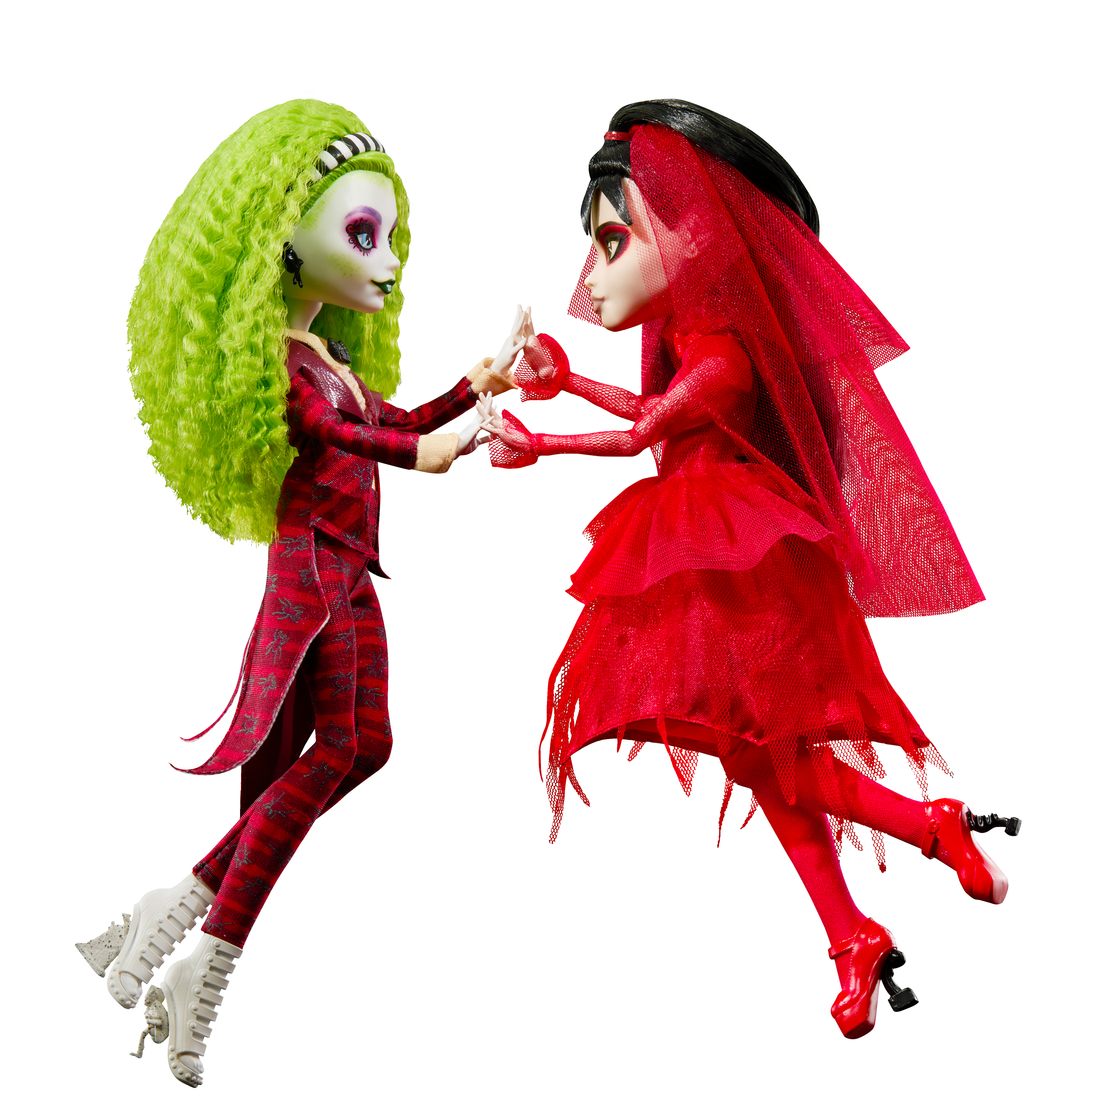
- Betelgeuse holds heart in hand in the ultimate gesture of affection, while Lydia carries a bouquet that doubles as a purse.
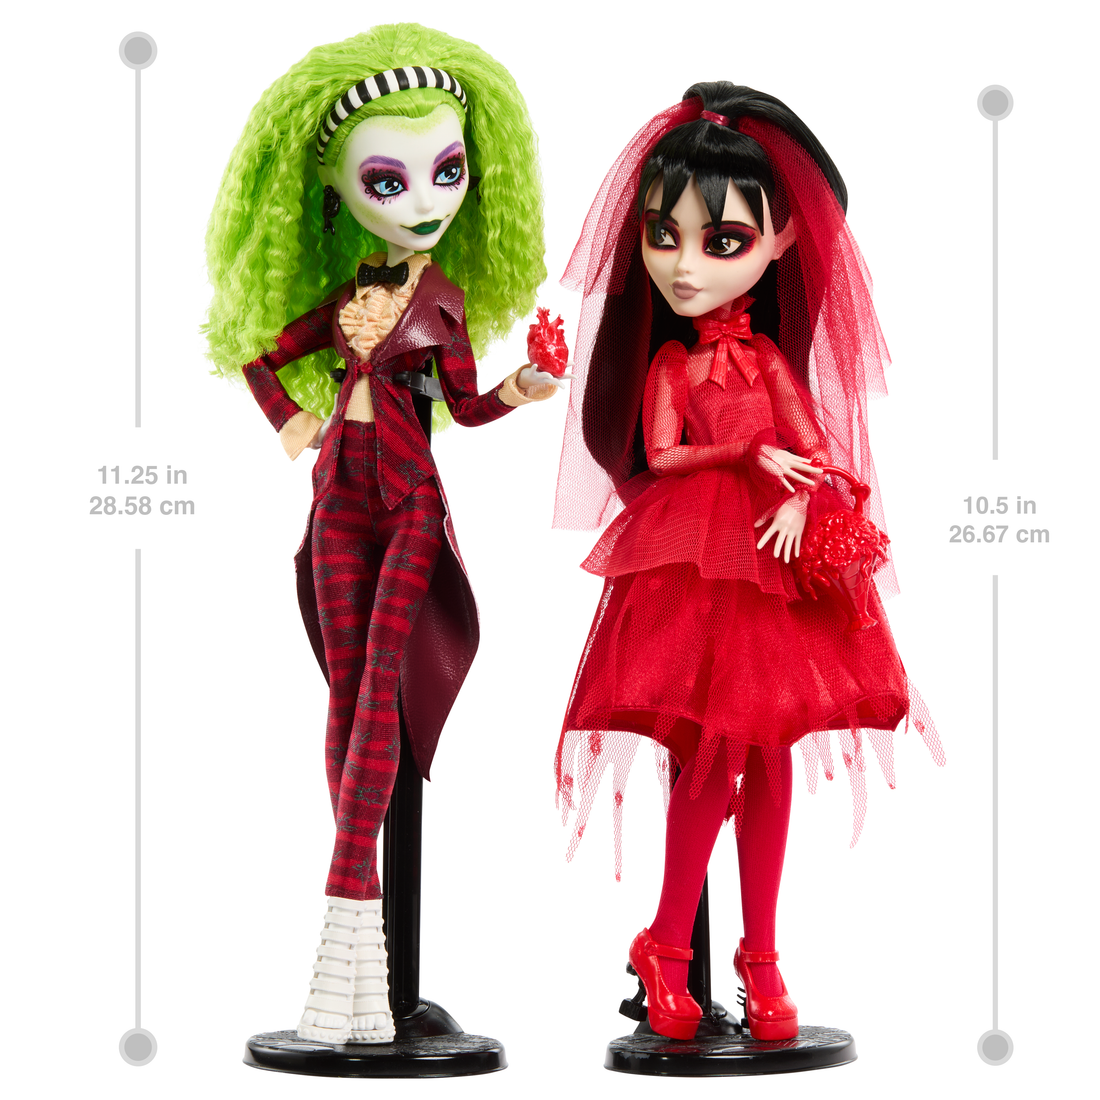
- With dreadfully deluxe packaging and two doll stands for display, this Beetlejuice Beetlejuice x Monster High Skullector 2-pack is a memorable creepsake for fans of the film. - --Includes 1 Betelgeuse doll, 1 Lydia doll, 2 accessories, 2 doll stands and 1 Certificate of Authenticity. Dolls cannot stand alone. Colours and decorations may vary.
-
Show background image
![Monster High Skullector Betelgeuse and Lydia Doll 2-Pack]()
-
Show background image
![Monster High Skullector Betelgeuse and Lydia Doll 2-Pack]()
-
Show background image
![Monster High Skullector Betelgeuse and Lydia Doll 2-Pack]()
-
Show background image
![Monster High Skullector Betelgeuse and Lydia Doll 2-Pack]()
-
Show background image
![Monster High Skullector Betelgeuse and Lydia Doll 2-Pack]()
-
Show background image
![Monster High Skullector Betelgeuse and Lydia Doll 2-Pack]()
-
Show background image
![Monster High Skullector Betelgeuse and Lydia Doll 2-Pack]()
-
Show background image
![Monster High Skullector Betelgeuse and Lydia Doll 2-Pack]()
-
Show background image
![Monster High Skullector Betelgeuse and Lydia Doll 2-Pack]()
-
Show background image
![Monster High Skullector Betelgeuse and Lydia Doll 2-Pack]()
Monster High
Monster High Skullector Betelgeuse and Lydia Doll 2-Pack
Rated 5.0 out of 5 stars
10 Reviews
You know what they say: 'married in red, better off dead!' …at least as long as Betelgeuse is the groom. Lydia Deetz and the infamous bio-exorcist himself make their return to the world of Monster High Skullector in this extraordin-eerie doll 2-pack. Inspired by the wedding scene in Beetlejuice Beetlejuice, this collectible pays tribute with strange and unusual fashions that would even make a sandworm do a double-take. Dolls cannot stand alone. Colours and decorations may vary.
Buy now, pay later. Learn more
Buy Now Pay Later
Spread eligible purchases over multiple interest-free instalments with our payment providers. To learn more, click on any of the providers below
 Collector favourite
Collector favourite
 Final restock now live
Final restock now live
 Great gift idea
Great gift idea
 New arrival
New arrival
Description